

Although Firefox was given the most secured browser award in 2019, we still love Google Chrome don't we? And switching browsers is not easy, especially when we have been using it for a while now. But don't feel guilty about not using the most secured browser, you can still take these steps to ensure that your browser has the optimum level of security.
1. Limit synced items
We use Google Chrome across all our devices, and so, to keep us updated we often sync all our devices so that all the information (logins and passwords, bookmarks, etc.) is available to us at all times. However, this continuous sending of data can put your security at risk, so limit the synchronization.
To do this, click the three dots on the upper right side of Chrome and then Settings > Advanced > Sync and other Google Services.

As you see in the above image, Synchronize everything is set by default. We recommend deactivating the options you use less frequently.
2. Encrypt synchronized data
In the same menu, i.e. Settings > Advanced > Sync and other Google Services, there is another options to encrypt your synchronized data. Select the option Encrypt synced data with your own sync passphrase. Next, choose a password that you can remember (different from your Google account password).

This will add an extra layer of security by asking for the password every time Google Chrome wants to synchronize your data.
3. Tweak the Content Settings
Go to the Settings > Advance and then click Site Settings (under Privacy and security). This particular section is highly crucial to your security; it's where you'll configure what to do with Cookies, JavaScript, Plugins, Popups, and more. These are the recommended settings.
Cookies: Keep local data until you quit your browser (this clears your cache for every browser closed).
JavaScript: Do not allow any sites to run JavaScript (you'll probably need to add sites to the exceptions for any website you need to allow JavaScript).
Plugins: Let me choose when to run plugin content.
Location: Do not allow any sites to track your physical location (add any sites to the exceptions list that are needed).
Notifications: Do not allow any site to show notifications.
Other than these settings, leave those listed as recommended. If you happen to be super paranoid, you might also go to Unsandboxed plugin access under Site Settings, and enable it if it's not enabled already.
Note: Sites with two-factor authentication might not behave properly when you set Cookies to Keep Local Data Until You Quit Your Browser. For those, you must set up exceptions.
To set an exception, click the Manage Exceptions button and then enter the necessary site and click Allow from the drop-down. You can use wildcards in exceptions in the form of [*]google.com.

4. Change your Password settings
Under Settings > Advance > Passwords ensure that Offer to save passwords and Auto Sign-in are both unchecked. Even though this would mean you will have to remember your passwords, and will need to sign in every time you go to a particular website.
5. Change the System settings within Google Chrome
For the very concerned for online privacy, I would highly recommend unchecking Continue Running Background Apps When Google Chrome Is Closed. This will close all apps when you exit Chrome and prevent notifications (such as Gmail, Facebook, etc.) from having access to your desktop. You would find this setting under Settings > Advanced > System.
6. Use the Incognito
For those that really don't want to risk security at any cost, when using Google Chrome, you can always run every session through an Incognito window. Many desktop environments will allow you to open Chrome in Incognito without having to first launch Chrome and then open a new Incognito window. You can also click on the 3 ellipses for the Google Chrome menu, and then click on New Incognito window or press Ctlr+Shift+N for shortcut.
7. Turn off Google Activity Control
Google Chrome not only saves your browsing data, but so does Google itself every time you're logged in to your Google account. This option, activated by default, can be easily deactivated. To do this, access the option Activity controls of your account from this link, and deactivate the switch.

Also, from this page you can configure many other aspects related to your activity. If you have time, take an in-depth look, because it is really interesting (and you'll be surprised to know just how much Google knows about you).
8. Maintain your list of extensions
Google Chrome extensions are highly useful, and we often install them, but then we use them for a few days, and then forget about them. What is the point of having plugins installed that are constantly sending data to an external server? It is advisable to review the extensions we have installed from time to time and clean them up.
To do this, click on the 3 ellipses for settings, and then click on More tools > Extensions or directly access using the Google Chrome flag chrome://extensions/. Uninstall/remove every extension that you do not plan to use within the next 2 weeks.
9. Add these security extensions
There are a lot of extensions available whose main focus is security. Here's a list of such extensions.
HTTPS Everywhere: HTTPS Everywhere is an extension created by EFF and the Tor Project which automatically switches thousands of sites from insecure "http" to secure "https". It will protect you against many forms of surveillance and account hijacking, and some forms of censorship.
Privacy Badger: Privacy Badger sends the Do Not Track signal (https://www.eff.org/issues/do-not-track) with your browsing. If trackers ignore your wishes, your Badger will learn to block them. Privacy Badger starts blocking once it sees the same tracker on three different websites.
Hola Free VPN: Hola is a free and ad-free VPN proxy service that provides a faster and a more open Internet. Unblock websites blocked or censored in your country, company and school, and stream media with the free Hola Unblocker VPN proxy service.
Unshorten.link: Shortened links can be hiding anything. With the Unshorten.link extension, any shortened link (such as bit.ly or t.co) you click on will be automatically expanded and analyzed for malware giving you a clear view of where the link is taking you. Unshorten will also automatically remove known tracking cookies from the URL.
Last Pass Password Manager: LastPass, an award-winning password manager, saves your passwords and gives you secure access from every computer and mobile device.
WOT Web of Trust: WOT creates a secure browsing environment, showing website security icons next to every URL & reputation alerts for unsafe websites.
Chrome Cleaner: The most fast and powerful Cleaner Extension in the Chrome Store! Cleaner lets you clear all unnecessary data from Chrome as easy as one click. Protect your privacy, delete all activity and fasten your browser with Cleaner extension for Chrome.
10. Take a Google Security Checkup
Before looking at extensions or apps however, a wise step would be to see how secure your browser is right now. Google provides an easy-to-use tool for this specific task called Security Check-up.

When you visit the site, Chrome will log you in and assess your current levels of protection, highlighting any areas that need addressing.
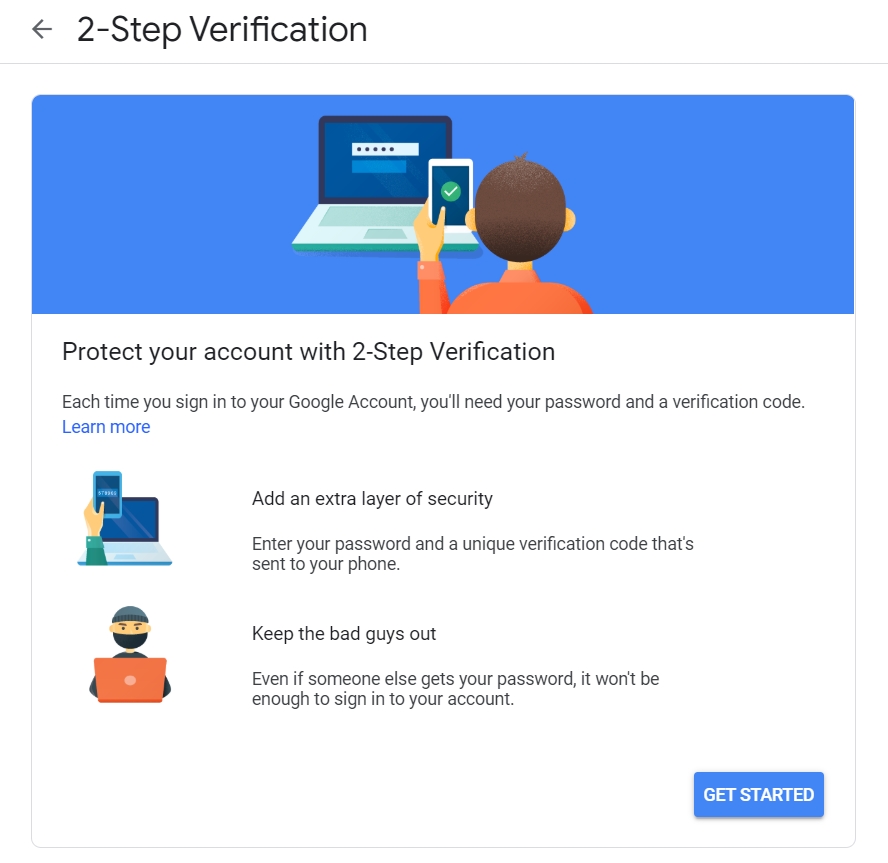
11. Setup 2-Step Verification
To enable 2-step verification, sign in to your Google account from the usual web page. On the left-hand side, click on Security, then under Signing in to Google, click on 2-Step Verification. If you be disabled by default. Enable it and set it up by clicking on the Get Started button.
As we all know, it's better to be safe than sorry. So it's wise to secure your Google Chrome browser using these steps. Do let us know in the comments if you follow any other step to secure your Google Chrome browser not mentioned here.


